NCR Actual Impacts and Verifications
NCR Actual Impacts
The Actual Impacts can be reported during the Coordination stage or at Disposition Approval stage. However, Actual Impacts are not mandatory to close the NCR.
Once all parties have authorized the Actual Disposition, the Project Manager must analyze any actual cost or schedule impacts and include the appropriate cost codes. This will help keep track of associated costs internally and provide visibility into the "Cost of Rework." To clarify, the "Cost of Rework" includes expenses related to rework, repairs, and replacements resulting from the rejection or scrapping of an item.
To add Actual Impacts:
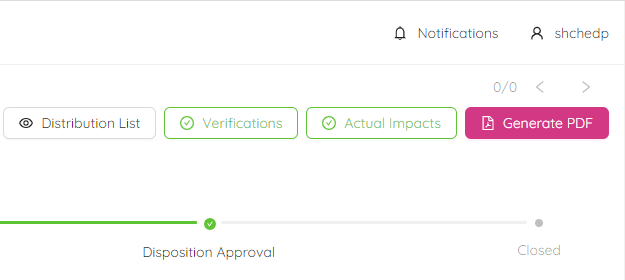
- Click on "Actual Impacts" button on the top right corner of the page.
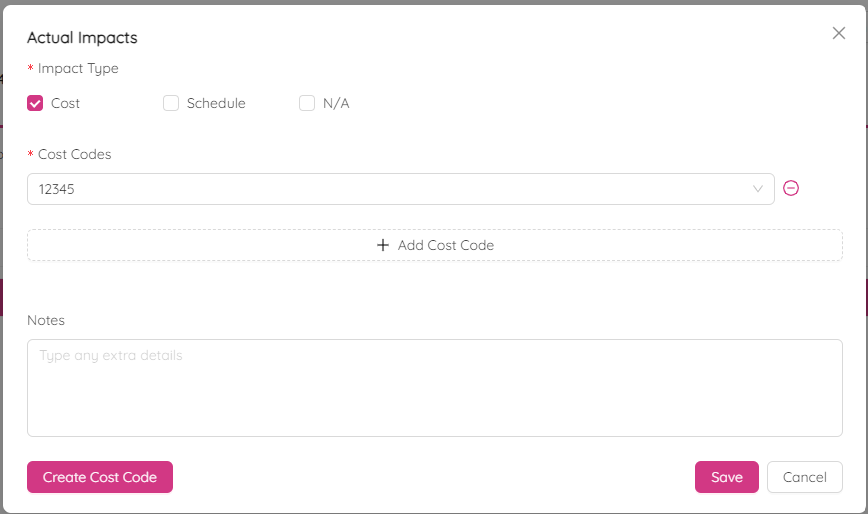
- Click on "Edit" button and select Impact Types. Options are "Cost", "Schedule", and "N/A". You could select both Cost & Schedule if needed. Click "N/A" if no cost impacts.
If Cost is impacted, it is mandatory to add Cost Codes related to the impact.
- Enter Cost Codes by clicking “+ Add Cost Code” button and “Choose a Cost Code…” field. You are allowed to pick multiple cost codes in this section.
Remove any added Cost Codes by clicking on the (-) next to the "Cost Codes" field.
- Use the “Notes” section to provide additional information, such as the cost impact of sub-contractors or suppliers.
- Click "Save".
To add a new cost code, click on the "Create Cost Code" button. You will need to fill out two text boxes, one for the "Cost Code" and another for the "Cost Code Description". After that, select whether it is "Incurred" or "Other".
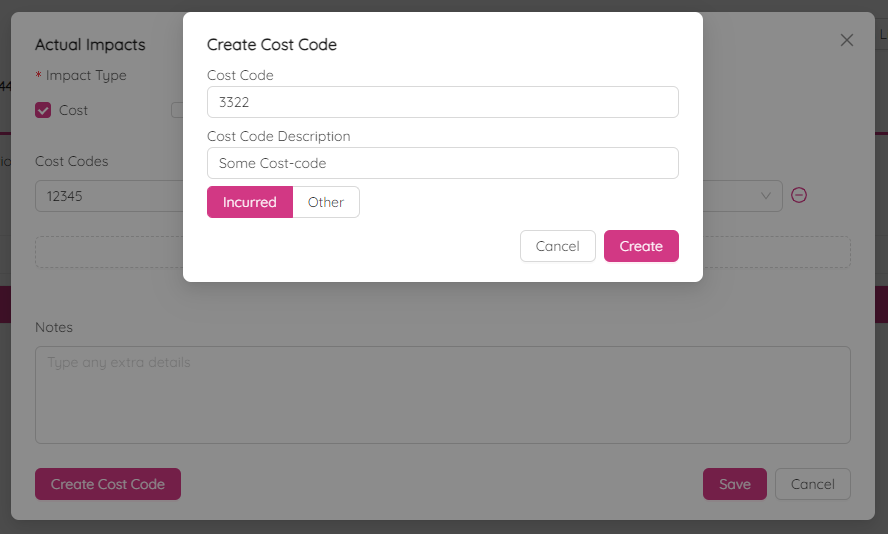
Incurred Cost Code - Cost code associated with the cost that the company is liable for.
Other Cost - Cost code associated with the cost that the company is not directly responsible for (For example: a cost code that captures your quality personnel monitoring and inspecting rework to subcontractor’s rework is a cost to your project team that the company is not liable for and would be passed on to the subcontractor).
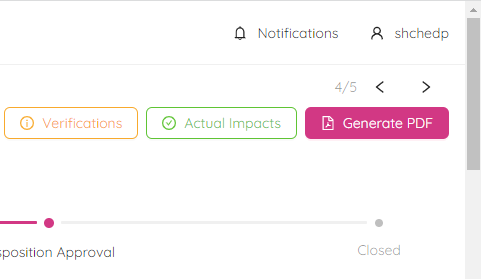
The color of the "Actual Impacts" icon will be changed to green.
NCR Verifications
The Verification can be initiated during the Creation stage and changes cab be made until Closed stage. Disposition Approval stage. However, Initiation and completion of “Verification” section is not mandatory to close the NCR.
To ensure the effectiveness of Corrective and Preventative Actions, the Verifications section should be utilized. Users have the option to include supporting text or attachments such as pictures or reports to validate this step. Attachments serve as objective evidence of the action's completion.
To assign the Verification:
- Click on "Verifications" button on the top right corner of the page.
- Click on "Configure" on the bottom right corner of the Verifications dialog box.
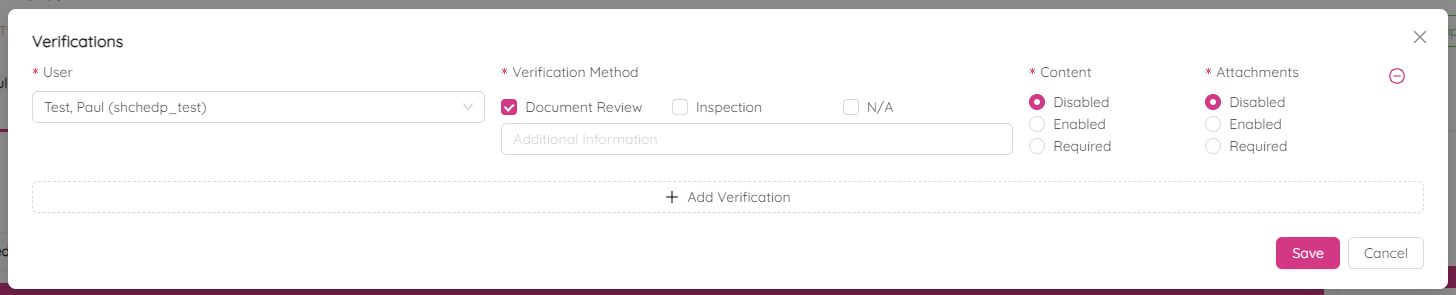
- Click on "+ Add Verification".
- Assign a user to handle the verification process.
The assigned user will be responsible for ensuring that the corrective action has been completed as per the verification method.
- Select "Verification Method". Available options are "Document Review", "Inspection" and "N/A". You can select both the "Document Review" and "Inspection options".
Add any details of the verification in the "Additional Information" section.
- For the Content section select one of the following:
Disable - user will not be able to view content option at the time of verification. Enable - user will be able (but not obligated) to type text to verify at the time of verification. Required - user will must provide content or text to verify completion of corrective action.
Remove any added verifications by clicking on the (-).
- Click "Save".
The user will be notified by email when assigned to a verification item.
To complete the Verification:
- Click on "Verifications" button on the top right corner of the page.
- Depending on the parameters of the verification assigned to you, there will be a "Content" and/or "Attachments" section.
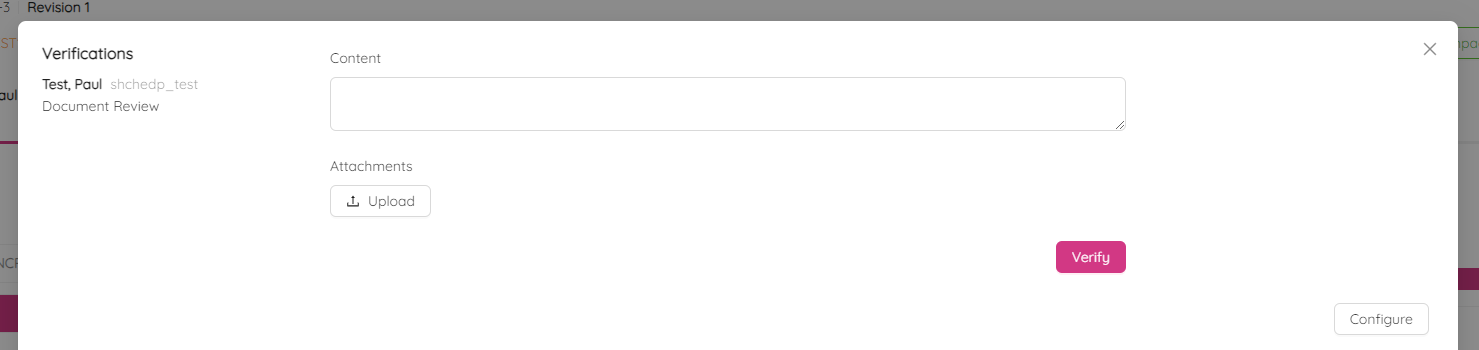
The Content Section is used to add text for the verification.
The Attachments Section is used to attach any verification documents or pictures as per requirement asked on verification method.
- Click on "Verify".
- Close the dialog box by clicking "X" button.
The color of the "Verifications" icon will be changed to green.